Project Botanical
This keeb is supposed to be a birthday present for a very very close friend who is incredibly dear to me.
When I got into building and modding keyboards in early 2021, I excitedly told all my friends, who, to my dismay, didn't share my enthusiasm for the rabbit-hole that is custom keyboards. So, when she visited me mid-2021 and I told her about this new hobby of mine, I already expected her reaction to be as indifferent as the rest of my surroundings, and indeed it was. As so often before, I was met with that dreaded "It's just keyboards, what could be so special about them?" line. But that attitude changed in an instant when I handed her one of my switch-testers to show her how different switches can feel and sound compared to another. That did indeed spark her curiosity, and while she tried to figure out which switch she liked most on that particular tester, I brought my Drop Alt from my desk. This was the breakthorugh: When she tried typing on that board, she was truly and honestly amazed by the difference in sound and feel compared to her off-the-shelf rubebrdome keyboard she uses at work. That moment of "whoa" was when I knew that one day, I HAD to build one for her.
-And as it turns out, that moment came sooner than I thought.
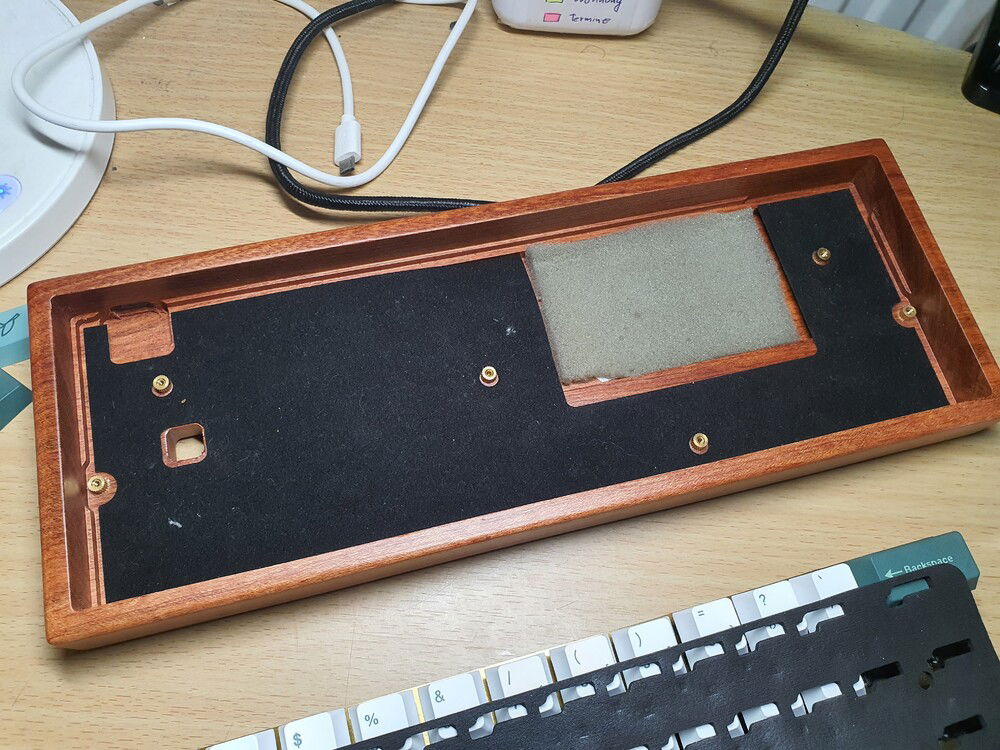
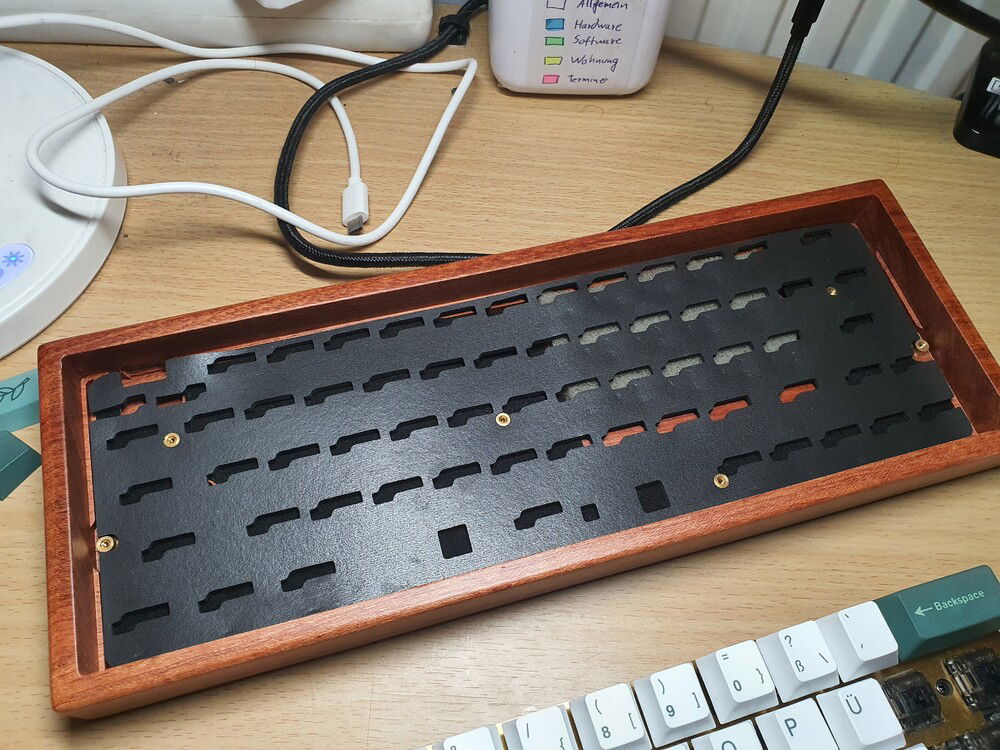
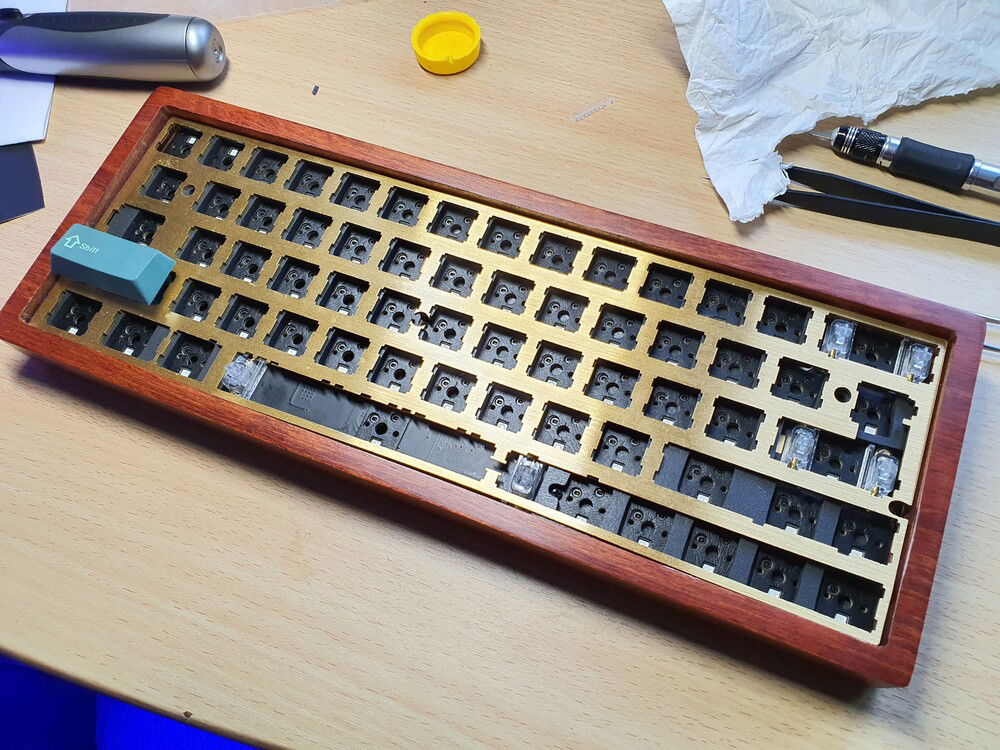
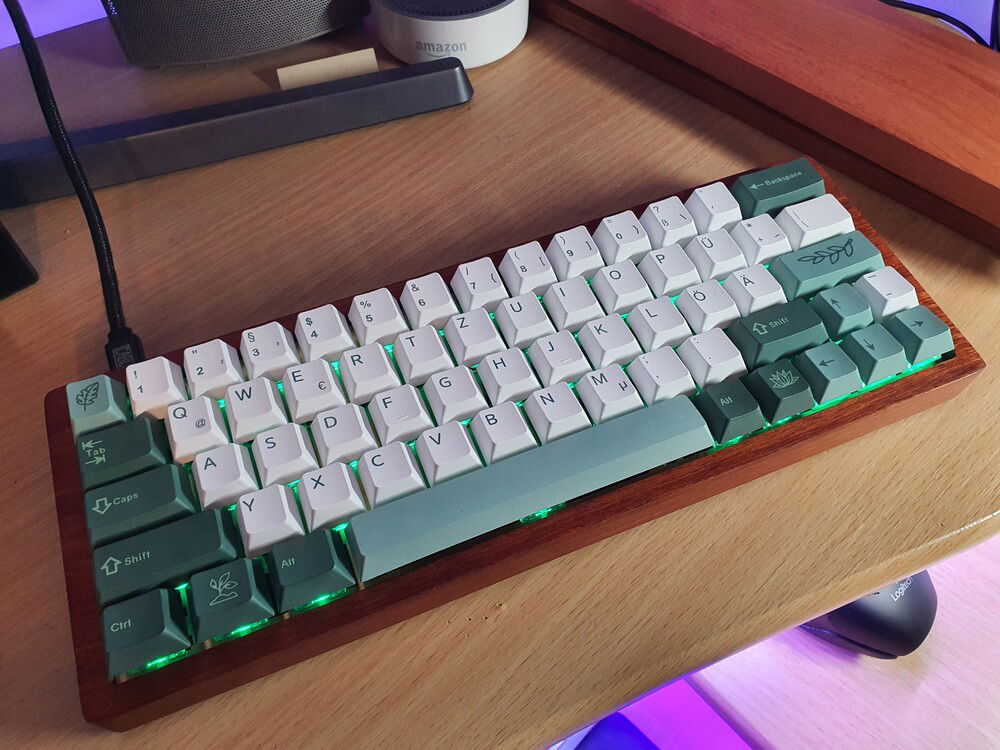
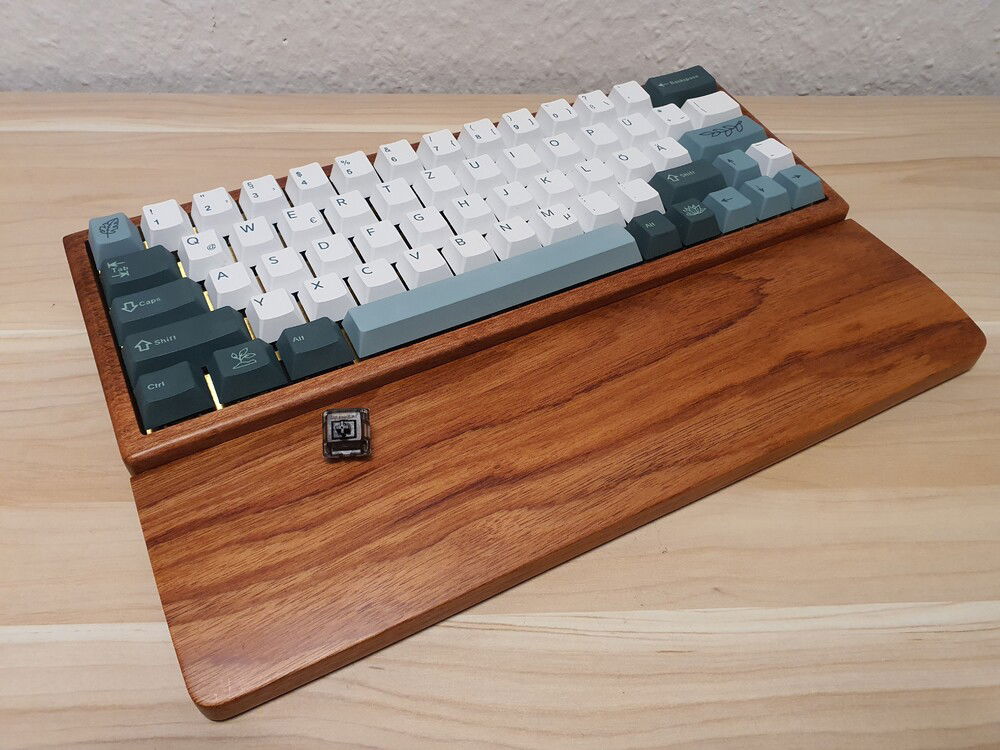
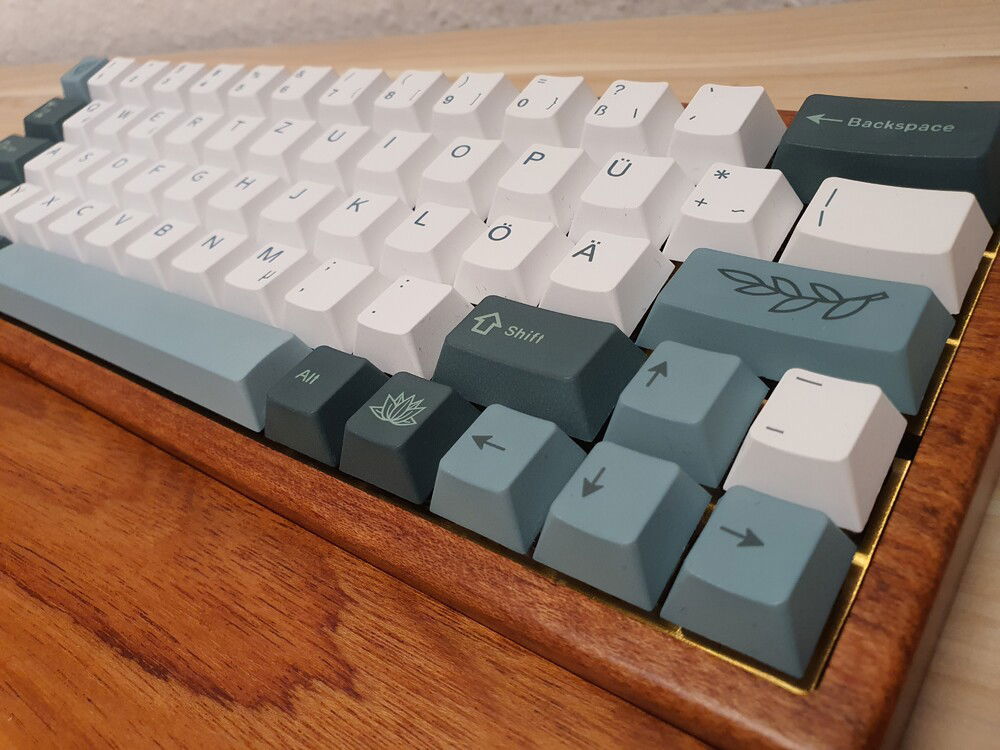
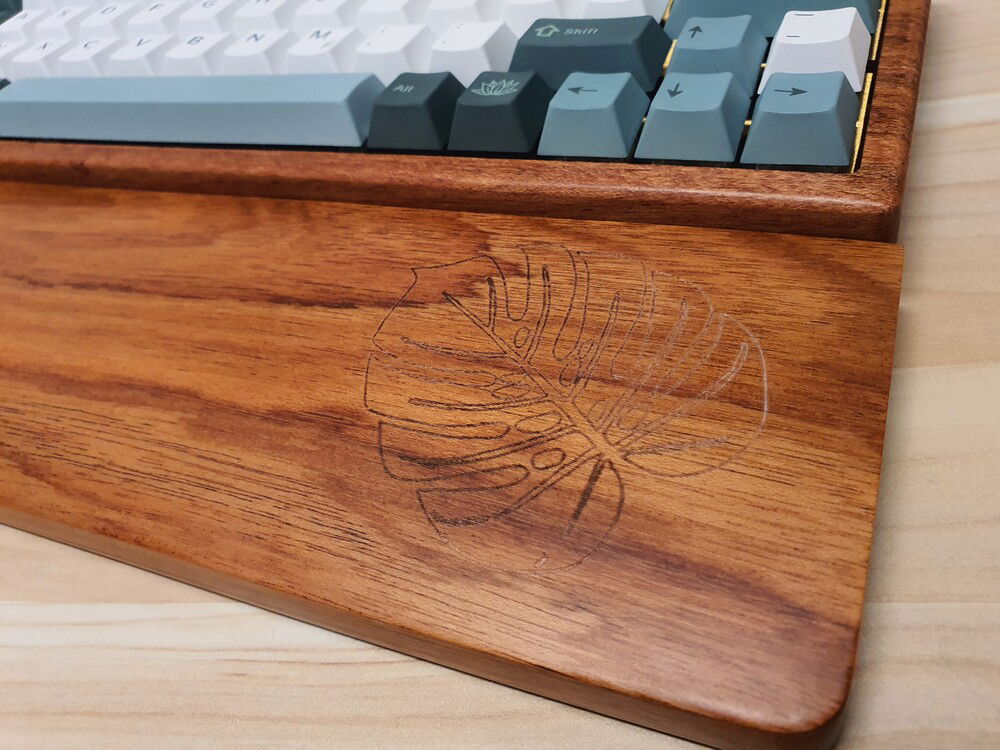
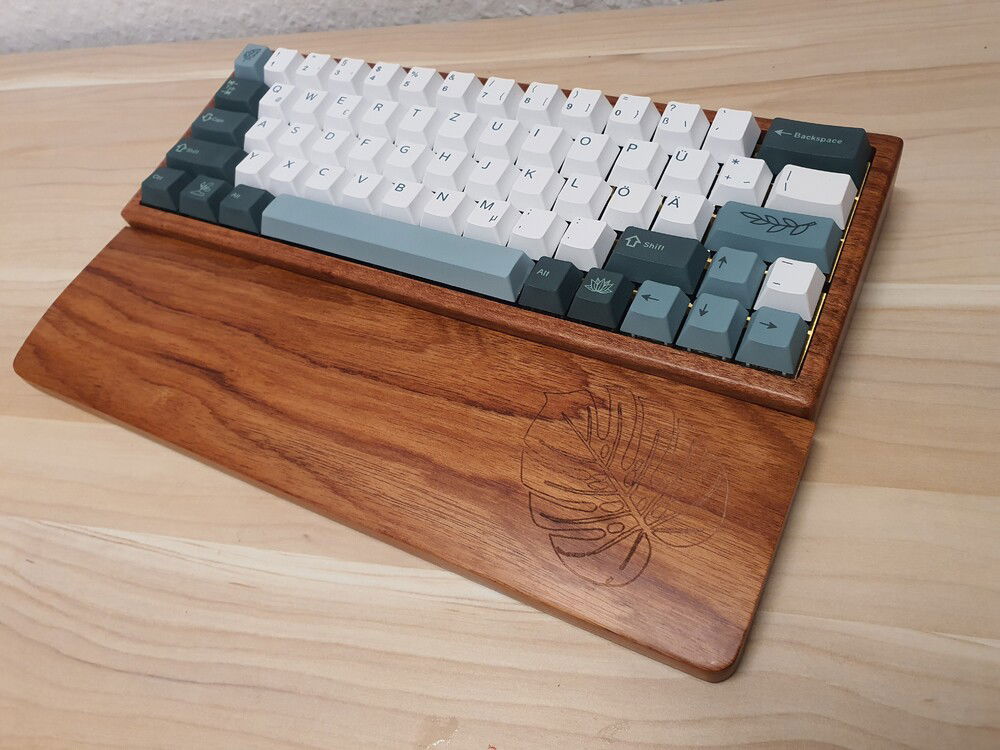
I had already seen the GMK Botanical clone by YMDK on Aliexpress and, knowing her hobby of raising plants like Monstera and Philodendron, I tought that this would be the perfect keycap set for her. But when someone offered a cherrywood 60% case complete with a fitting wrist-rest on german mkd discord, I knew thatv the time had come to suprise her with a board on her own. So I ordered the keycaps and case, took the PCB I still had in stock for a different build and got out the Gateron Back Ink v2 which she had loved so much in my Drop Alt.
Color(s): Green White
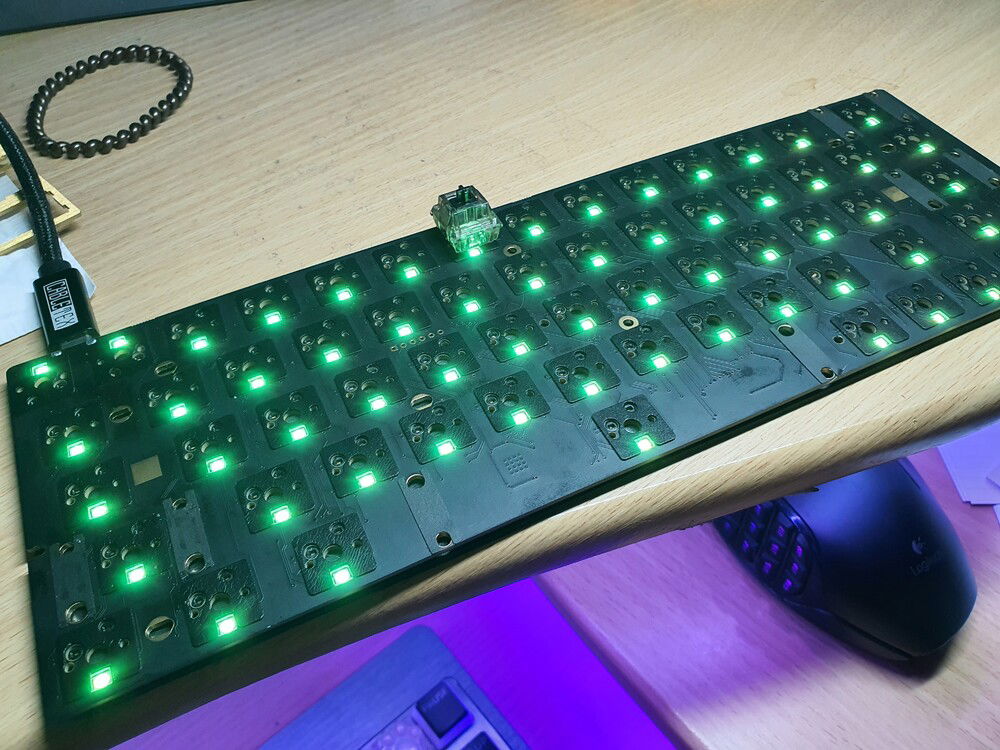
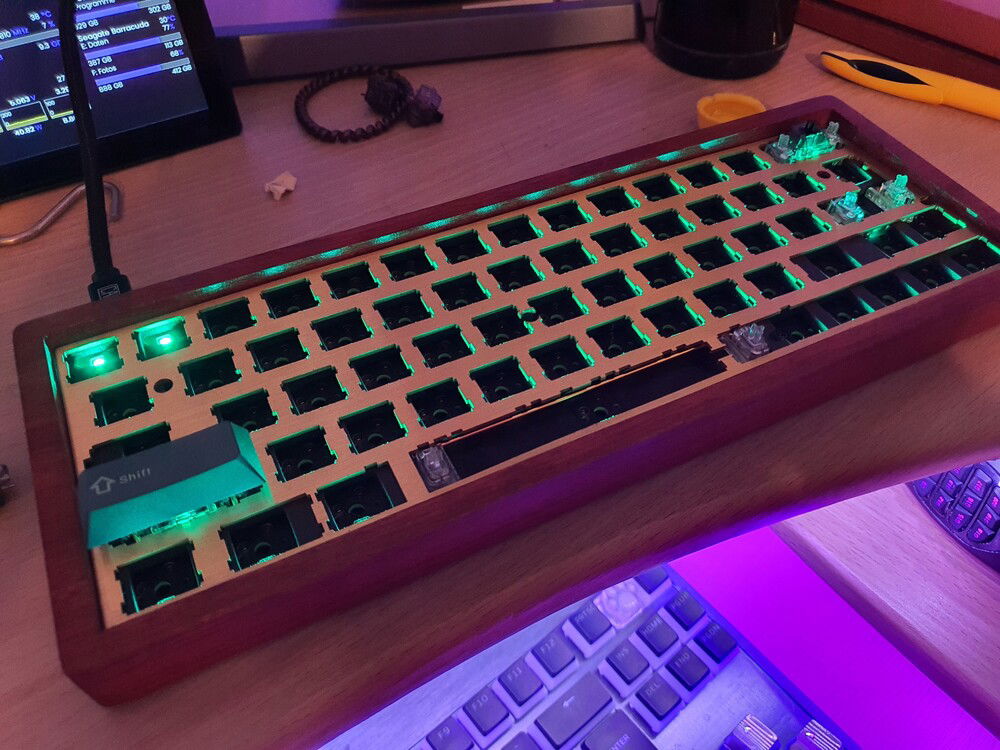
RGB Lighting? Yes
Keyboard Type: Custom
Build Updates
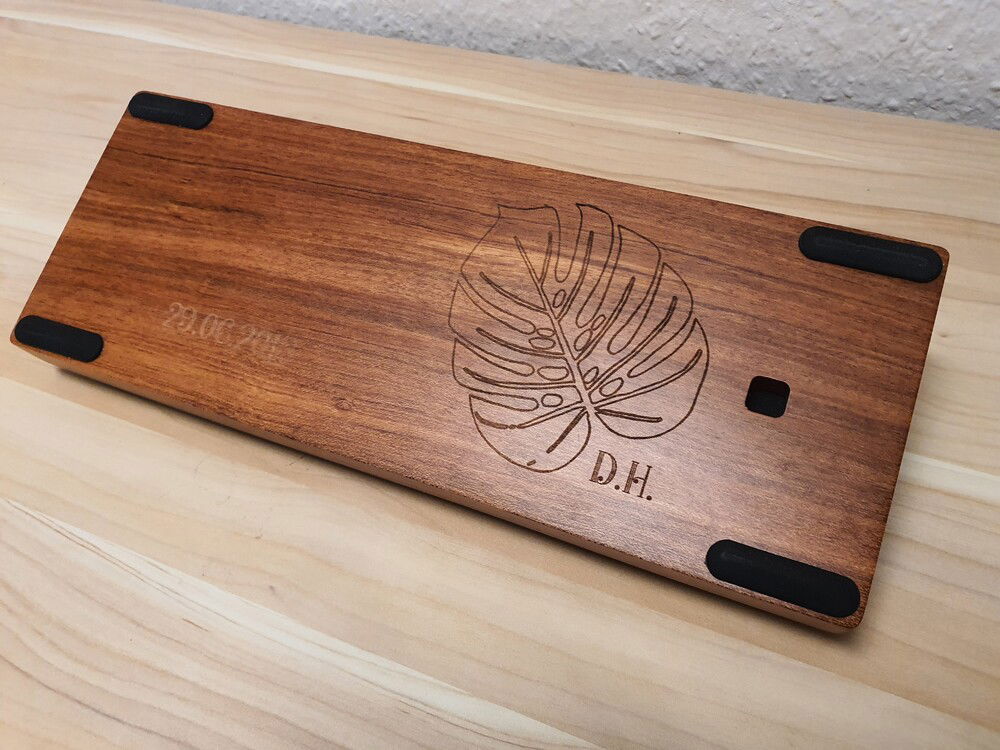
Bring out... The LASER!
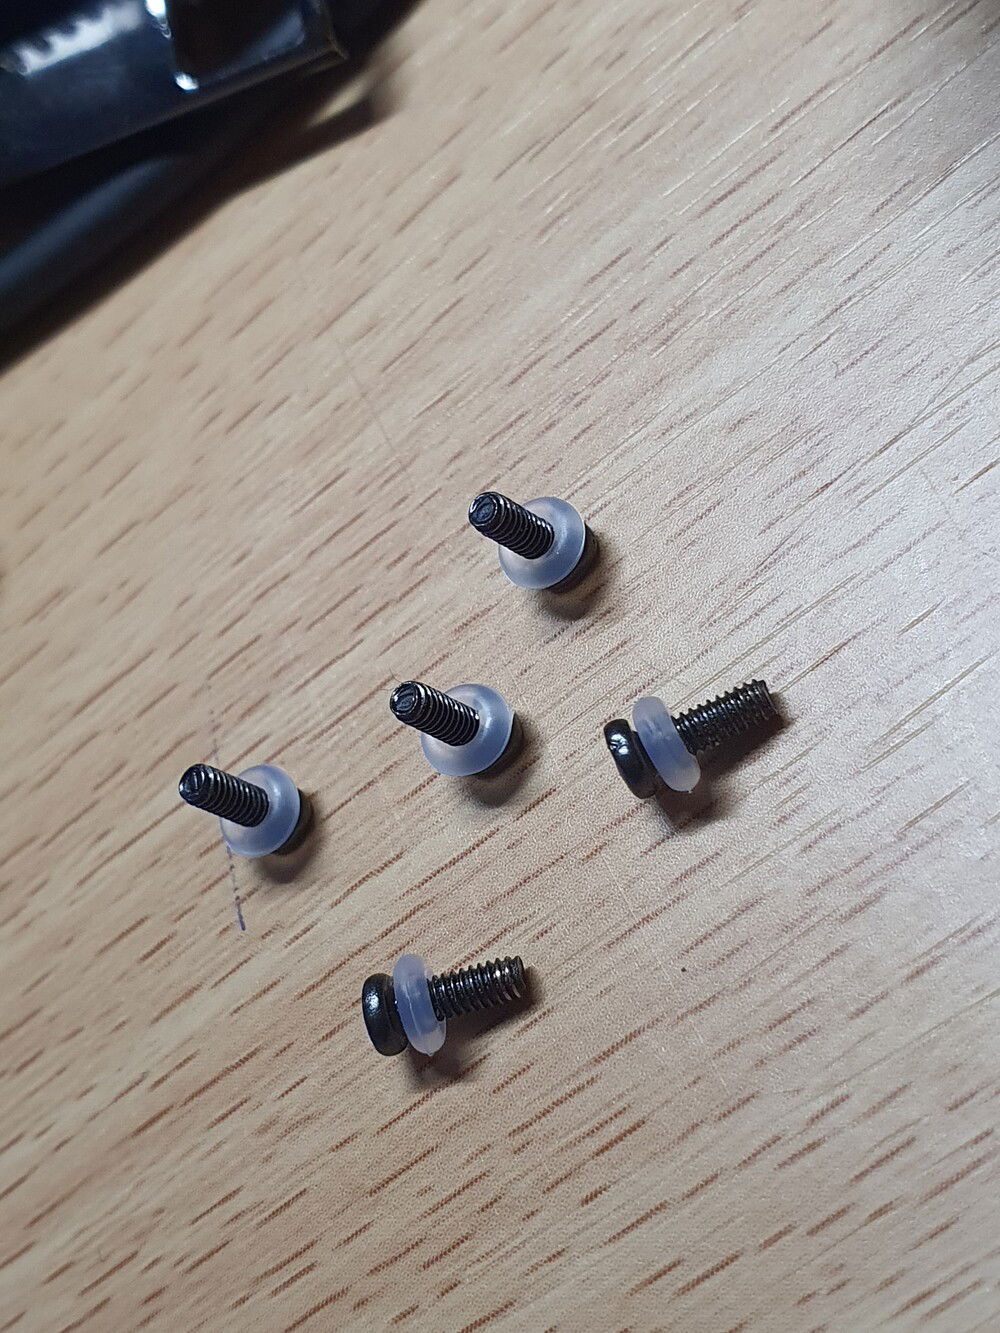
Hardware
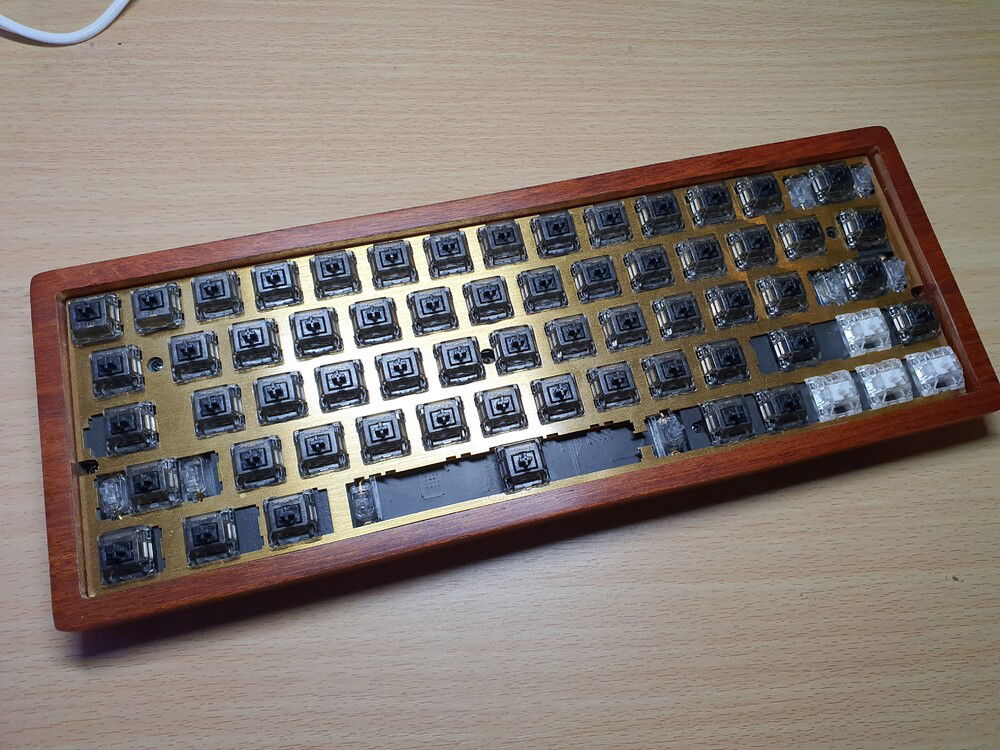
Plate
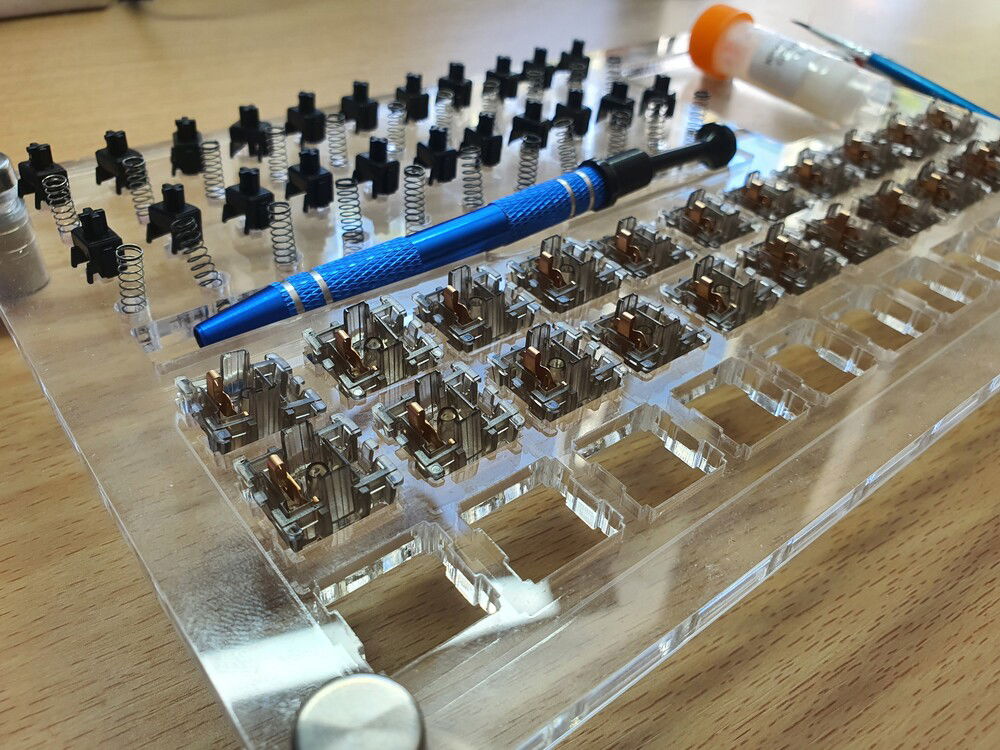
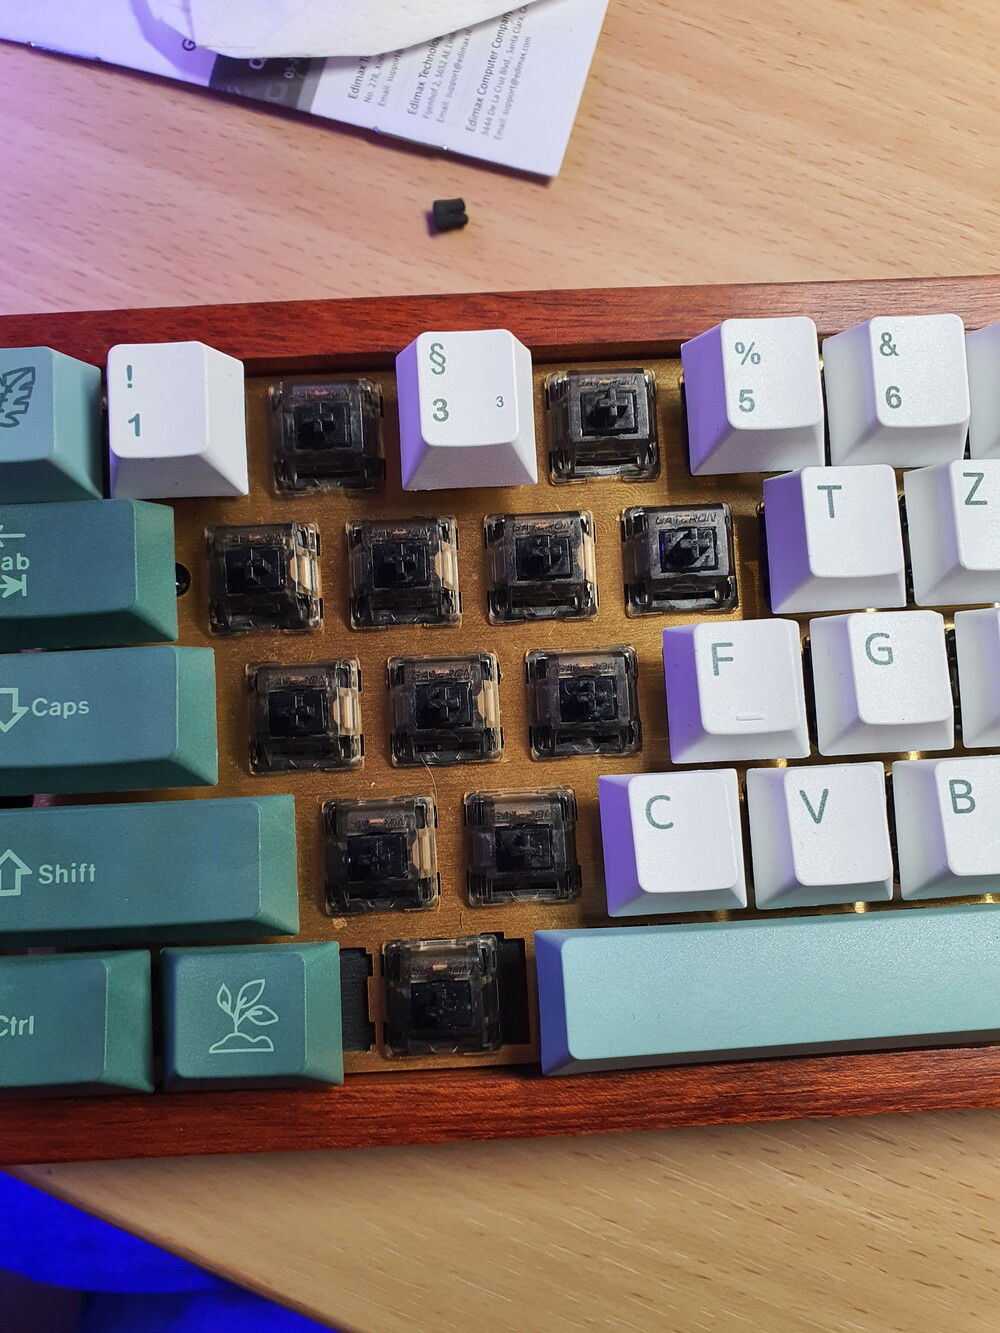
Switches
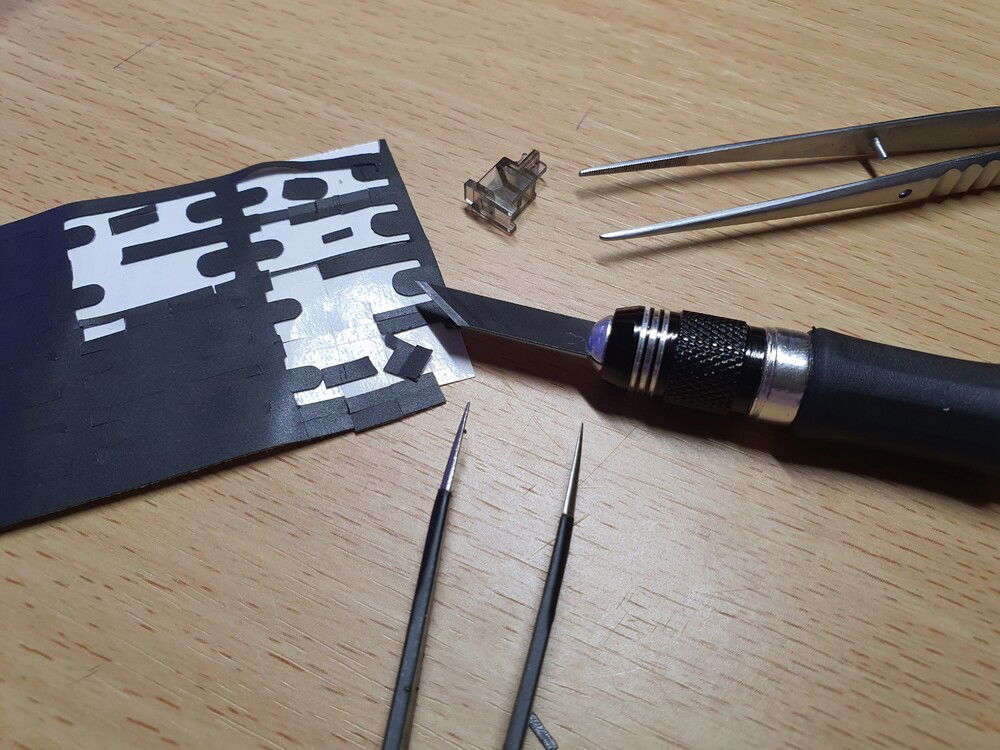
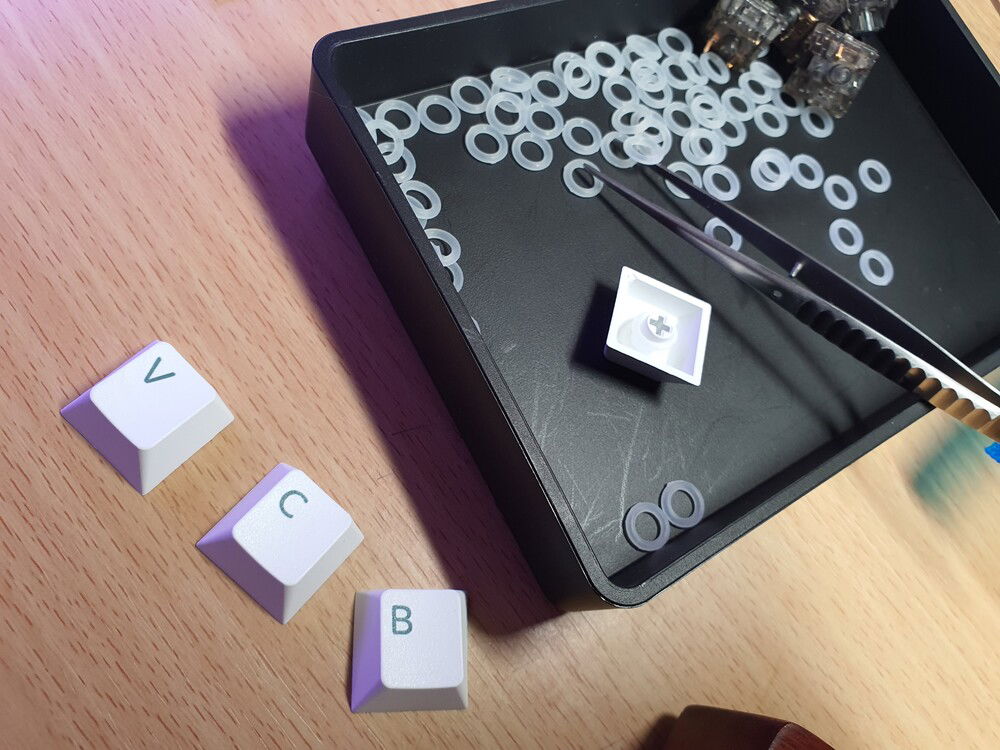
Switch Films
Keycaps
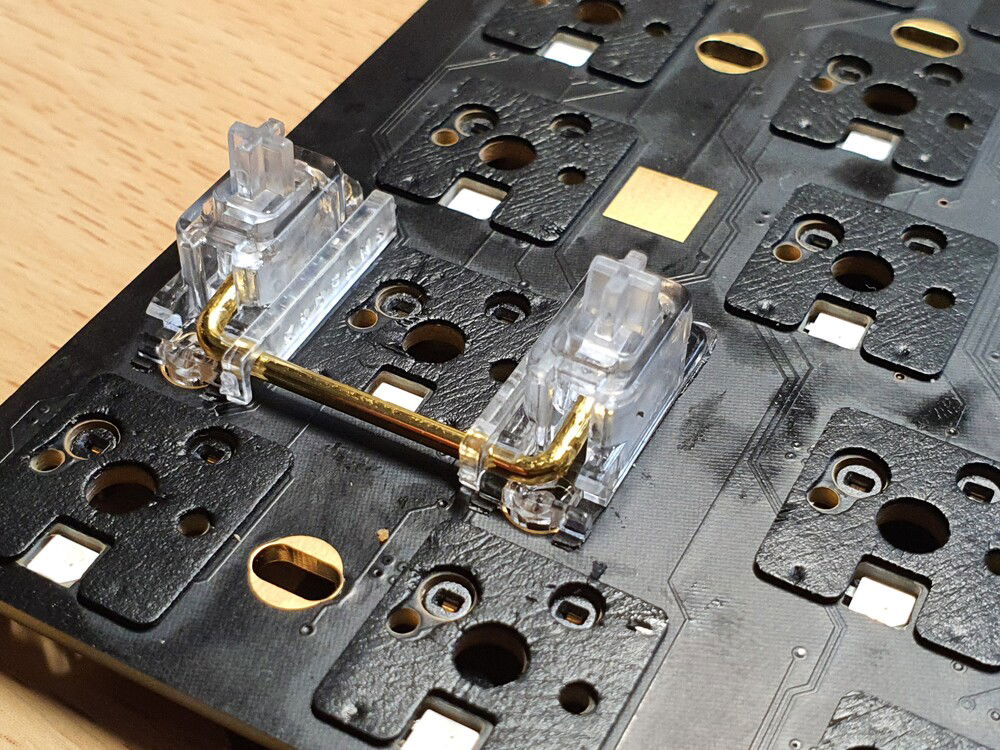
Stabilizers
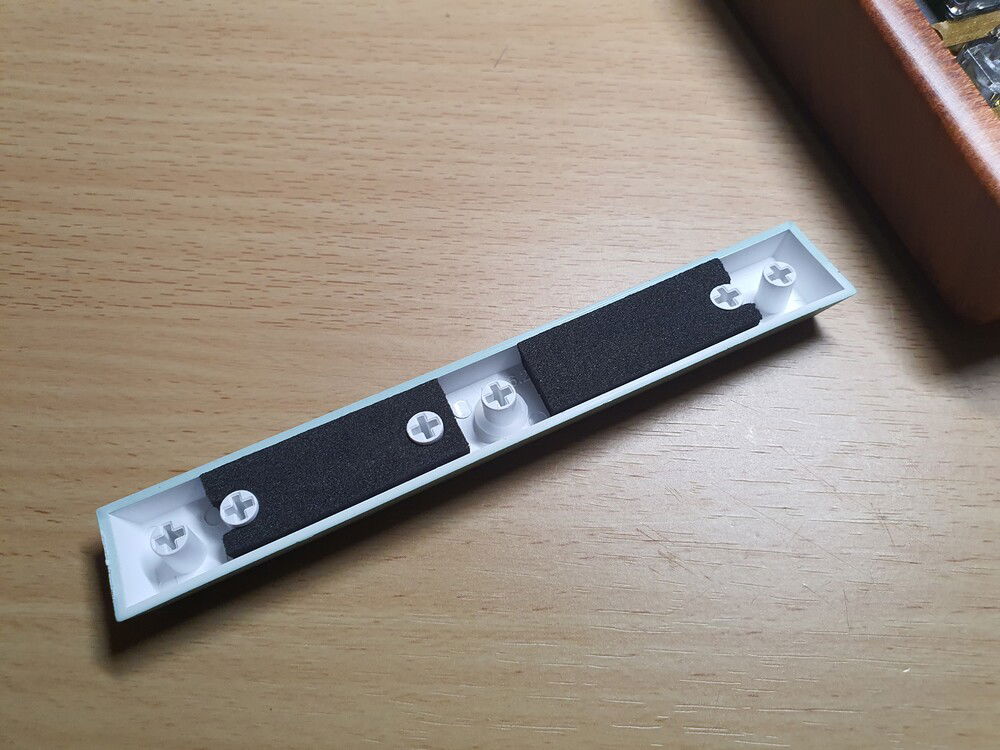
Sound Dampening
Sound Dampening
Approved by:
